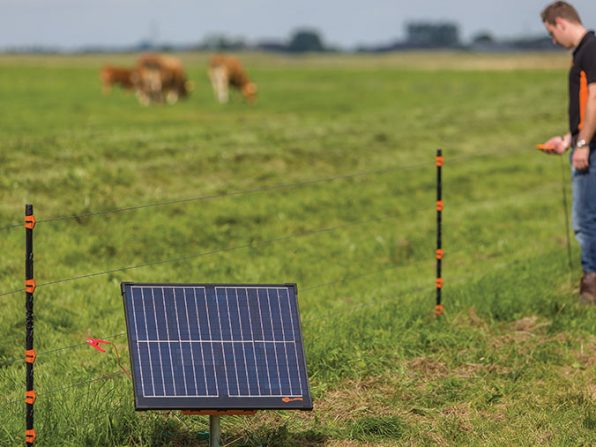
A solar-powered electric fence is one of the best ways to promote green farming. Working with nature, farmers are fully aware of the importance of sustainable farming practices to protect our planet.
One practical approach to eco-friendly farming is by using solar-powered electric fencing. More farmers prefer this practice because it is efficient in the containment of herds and livestock and keeping predators and intruders at bay.
More farmers are choosing solar-powered electric fencing for practicality and sustainability. The increase in market demand for electric fencing in farming and agriculture is estimated to reach up to $438.4 million in the next five to eight years.
If you’re planning to get solar electric fencing or already have one and are looking for information on installing it, this article will help you.
Here’s a step-by-step guide on how to set up your solar electric fencing:
Step #1: Choose the Type of Fence You Need
Solar electric fences come in varying types, shapes, and sizes. Make sure you get one that is most suitable for what you intend to use it for. Since there are different types of solar fences available on the market, deciding which ones to choose is quite challenging.
For one, you need to consider the purpose of why you’re getting a solar fence. If you need it to contain livestock such as horses, cattle, and pigs, you have to select a strong fence to hold them in. You also need to factor in the electrical strength required for the fence to work effectively. As a general rule, larger animals require a stronger fence energizer.
You also need to think about the size of the area that needs fencing. The bigger the enclosure, the stronger the energizer.
Step #2: Plan Your Layout
 Plan the layout of your electric fence by measuring the area you would like to fence. Sketching a diagram of your layout also helps by providing you with a rough blueprint of your fencing plan.
While making the diagram, keep in mind the other structures nearby or adjacent to your fence. Take note of the buildings or barns that are on your farm.
Will those structures be inside the enclosure or not? What are the alterations you need to make to ensure ease and accessibility?
Also, take note of hills, wet areas, trees, and other obstacles so that you can make the necessary adjustments. If you work with a builder, it’s a must to show them your layout to give their expert advice on the best course to take.
Step #3: Set Up Your Fence
Once your layout is ready, you can start installing your fence. Begin by digging a hole using a post-hole digger. Then fill it up with dry cement. You can also opt to use level props to ensure a smooth and clean finish. You can see that in detail here:
Install the rest of the posts by running a string from the first post to ensure that posts are correctly aligned. For a stronger fence, you can leave it for 24 hours before installing the wires. Install the wire fence by putting it in one corner and to the next until you covered the entire area.
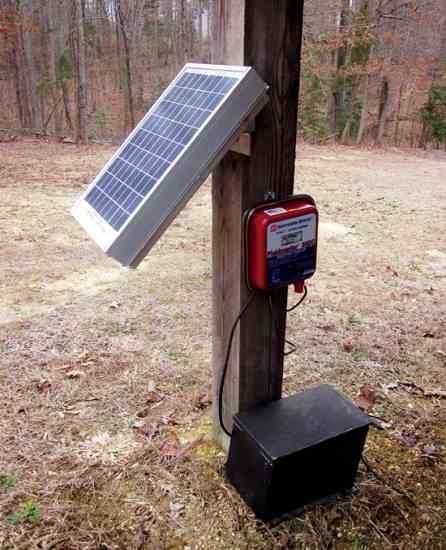
Attach the grounding wire. The wire should be connected from the terminal on the ground, extending to all the posts. Use a grounding clamp to secure the wire to the posts. Do not wrap the wire around the fence post. Instead, use the connector clamps.
Step #4: Test the Line
Once you’re done setting up the actual fence and the wires, it’s time to test your line. Use a voltmeter to ensure the proper flow of electricity.
Turn on the charge and note down the voltage. Regular volt reading should be between 6,000 to 10,000 volts, depending on your charger’s electrical strength. This also depends on the type of animals you’re looking to keep within the parameter.
To charge, connect the lines using a gauge jumper wire and attach it from the top of the fence to the charger. It is recommended to regularly check your fence’s electric current to make the necessary corrections and avoid signal problems.
Keep plants away from your fence and remove grass and weeds that have grown near to prevent voltage loss.
Final Thoughts
The solar-powered electric fence allows farmers to use free energy from the sun as an eco-friendly and convenient alternative to standard electric fences. By harnessing the power of nature, farmers can effectively work to increase productivity while saving money and the environment.